mbed on ZKit-ARM-1769
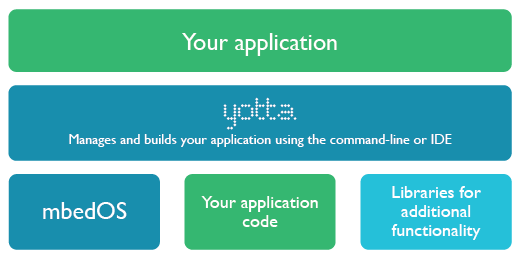
ARM mbed is the fastest way of creation and deployment of devices based on ARM microcontroller. It is designed for IoT platforms which provide an operating system, development tools, standard libraries, cloud services etc.
mbed provides an API’s to create your own application on C++ for controlling various hardware and also provides an interface(mbed OS) for developing an embedded device software that runs on various ARM microcontroller.
This article show, the steps to create and build your first mbed application on ZKit-ARM-1769.
Getting started with mbed
To build your first mbed application, you have to setup your build environment of mbed OS. There are various ways to build your mbed application
-
Online Compiler IDE.
-
yotta, command line build tool.
-
gcc4mbed
In this article, we are going to use Online Compiler.
Online Compiler IDE:
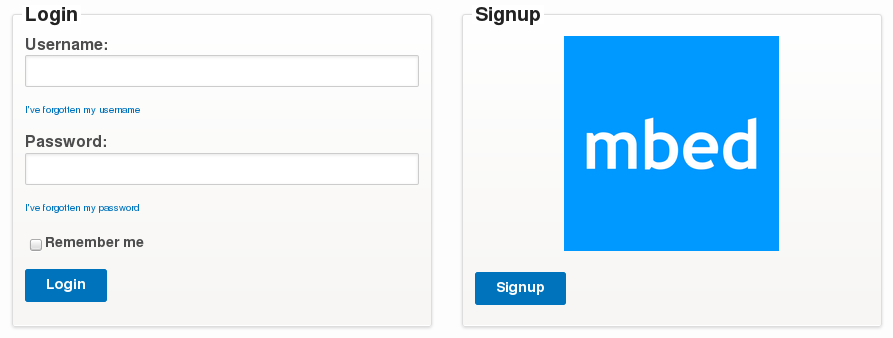
Step 1:
To use online compiler for mbed development, first you need to login/signup in https://developer.mbed.org/compiler
Step 2:
To create a new program click New
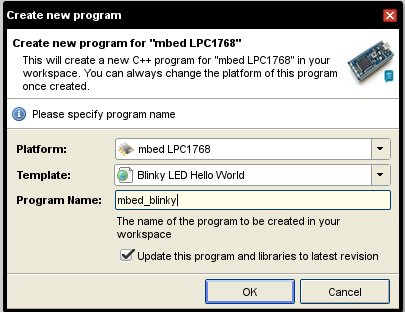
Make the following choices in the dialog:
-
Platform: mbed LPC1768
-
Template: Blinky LED Hello World
-
Program Name: mbed_blinky
Note: In this tutorial, we use ZKit-ARM-1769 board which is same as ARM-LPC1768. The only difference is CPU frequencies of LPC1768 is up to 100MHz whereas LPC1769 120MHz.
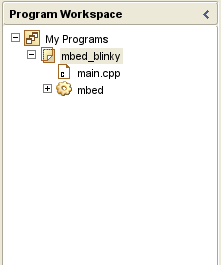
Step 3:
Now you can find your program on Program Workspace which contains source file and build libraries.
Blink LED(main.cpp)
#include "mbed.h"

DigitalOut myled(P0_19);

int main() {
    while(1) {
        myled = 1;
        wait(0.2);
        myled = 0;
        wait(0.2);
    }
}
Step 4:
To compile a program click Compile
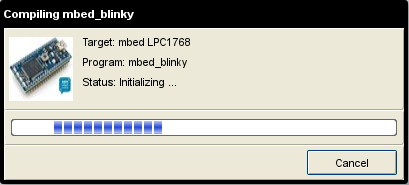
After compilation, you will get a binary in your default download directory.
Step 5:
Use FlashMagic or the lpc21isp tool to flash the binary.
On Linux,
$ lpc21isp -control -bin </path/to/binary-file> /dev/ttyUSB0 115200 12000On Windows, refer Step 4 to Step 7 from the following link:
Finally, press the reset button on your target board.
Credits
Thanks to mbed.org for the images.