Getting started with Android in the command line
Android applications can be created using the command line itself. Necessary tools are provided by the Android SDK. This article will demonstrate how to create a Android Application in the command line.
Setting up the Work Environment
The Android SDK is required for developing a Android application from command line. Download the latest Android SDK from the link http://developer.android.com/sdk/index.html.
The PATH environment variable should be setup, to work with the
Android SDK. Add the following directories to the PATH environment
variable. You might want to add it to your .bashrc file.
-
/path/to/android/sdk/tools -
/path/to/android/sdk/platform-tools
Creating Android Virtual Device
The android command is invoked for setting up projects, AVDs,
etc. The general syntax of the android command for creating an AVD
is given below.
$ android create avd -n {emulator name} -t {target ID}
The emulator name is the name assigned to the AVD. The target ID
requires a bit more explanation.
The Android SDK maintains a set of system images, each containing a specific version of Android and other additional libraries. Each system image is identified by a unique no. called the target ID. The list of available targets can be listed using the following command.
$ android list targets
id: 1 or "android-3"
     Name: Android 1.5
     Type: Platform
     API level: 3
     Revision: 4
     Skins: QVGA-L, HVGA-L, HVGA (default), HVGA-P, QVGA-P
...
The command create a AVD with the name galaxy and using target ID 8
is give n below.
$ android create avd -n galaxy -t 8
Starting AVD
After creating the AVD, the AVD can be started using the emulator
command. The general syntax of the command is given below.
$ emulator -avd {emulator name}
The command to start the AVD galaxy is given below.
$ emulator -avd galaxy
Creating new project
The general syntax of the android command for creating a project is
given below.
$ android create project --target {target id}
  --package {package name} --activity {activity name}
  --path {path to project folder}
The package name, is the Java package name to be used in this
project. The activity name, is the name for the Activity class. As
with the AVD creation, the target ID refers to a system image.
An example command to create an activity called Hello is given
below.
$ android create project --target 8
  --package com.hello  --activity Hello
  --path /home/abdul/android_practice/hello
The above step will create the project folder with necessary files
inside it. The project structure and the file details have been
explained in the article
Getting Started with
Android. Modify main.xml and Hello.java as specified in the
previous article.
Build .apk file using Ant tool
Android projects are built using the Ant tool. Ant is java library and command-line tool used to build the java application. For building Android Application the required version of ant tool is 1.8.0 or later can be obtained from http://ant.apache.org/srcdownload.cgi.
Enter into the project folder and invoke ant as shown below.
$ ant -Dsdk.dir={path to android sdk} release
The above step will create R.java file located in the gen folder
and .apk file located in bin folder. The .apk file is the
Android package file, equivalent to .jar files in Java SE.
Installing .apk file in emulator
Ensure the AVD is running and install the .apk file, using the
Android Debugger. The Android Debugger is invoked using the adb
command. The general syntax for installing Android packages is given
below.
$ adb install {.apk file}
After the Android application is installed in the emulator, the application has to be started manually. In the emulator window
-
Press the menu icon.
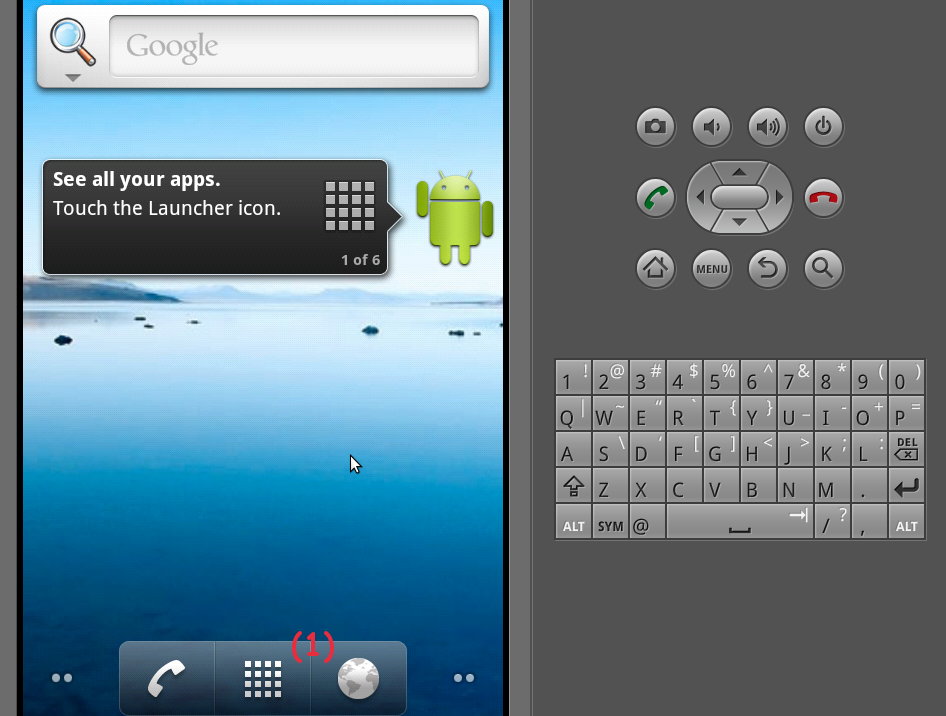 Figure 1. AVD displaying menu icon
 -
Search and select your installed application.
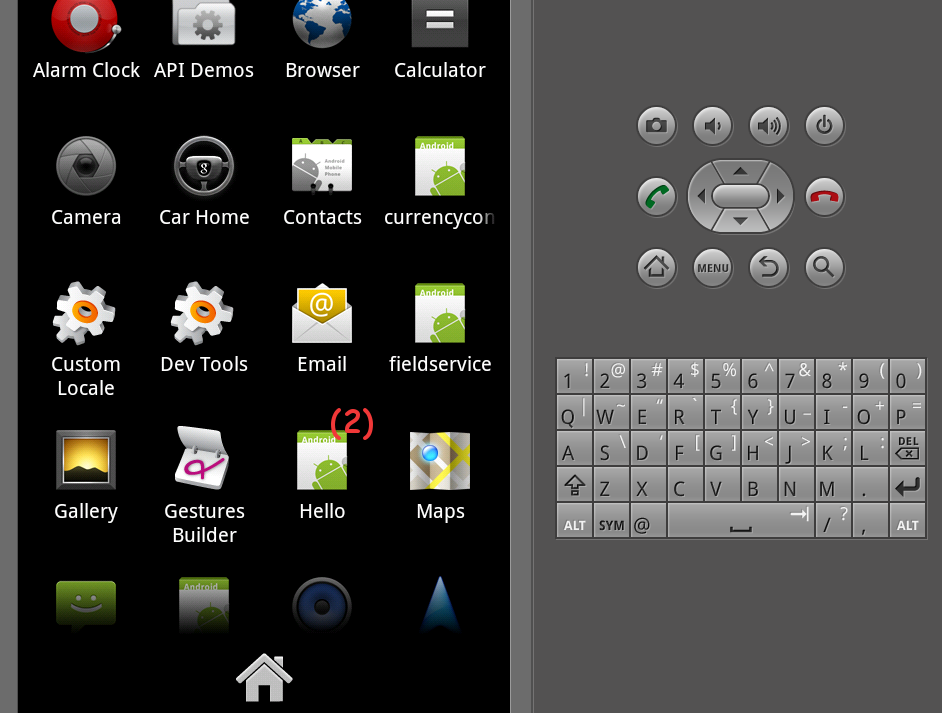 Figure 2. AVD displaying Hello Application icon